Airless application of our LuminoKrom® photoluminescent marking
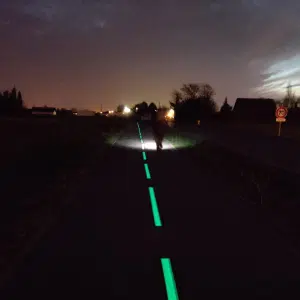
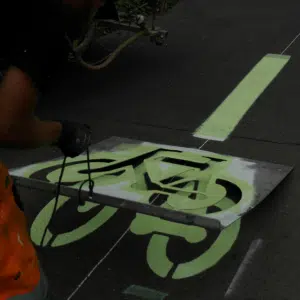
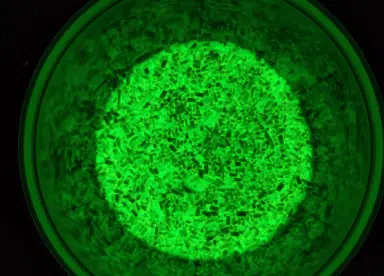
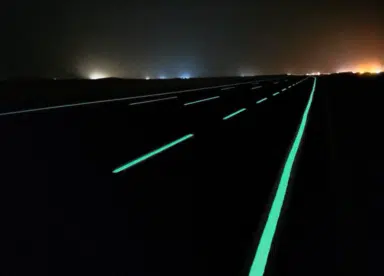
Better mark cycle paths and pedestrian walkways, thanks to a paint that captures light during the day and restores it in the dark. That's what LuminoKrom®, our photoluminescent road paint, is offering. Contrary to traditional reflective paints, our luminous road markings don't need to be illuminated by a light source or car headlights to be visible in the dark.
Thanks to the unique performance of our LuminoKrom® pigments, a cycle path plunged into darkness is illuminated for 10 hours, without the need for electricity or a light source.
This type of photoluminescent paint is a real answer to the need for visibility at night, bringing brightness to areas dedicated to soft mobility, without cars.
But, how to apply phosphorescent paint correctly?
Step 1 - Choosing the perfect place to apply glow-in-the-dark paint
|
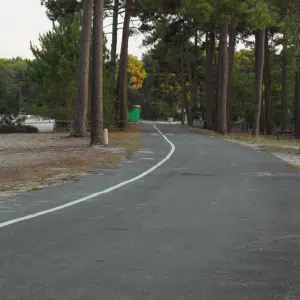
It's important to choose the location strategically. Photoluminescence is only visible in the absence of light, so it's best to choose areas where there is no street lighting.
LuminoKrom® is also particularly suitable for towns and cities where public lighting is switched off for part of the night. As soon as the lighting is switched off, the photoluminescent markings take over, creating a luminous guide for cyclists and pedestrians. |
Step 2 – Choosing the right photoluminescent paint
|
The most important is to analyze and choose the photoluminescent paint before starting on a marking project. The main parameter to take into account is the duration of luminescence specific to each product. This has a drastic impact on performance once the paint has been applied.
On the market, some are less expensive, but beware: they will inevitably be less efficient. Naturally, there is a difference in performance and therefore in luminescence duration. |
So, determine the luminescence time you need for your application. Naturally, for a road application, you'll need to choose a paint with a long luminescence time, i.e. over 10 hours. The aim is to perform all night long.
Caution: Applying a thick layer of paint will not be enough to compensate for the lack of performance of the chosen paint reference. Only a product with a certified luminescence duration will ensure the longevity of the luminous marking.
Step 3 - Choosing the right outdoor and indoor equipment
|
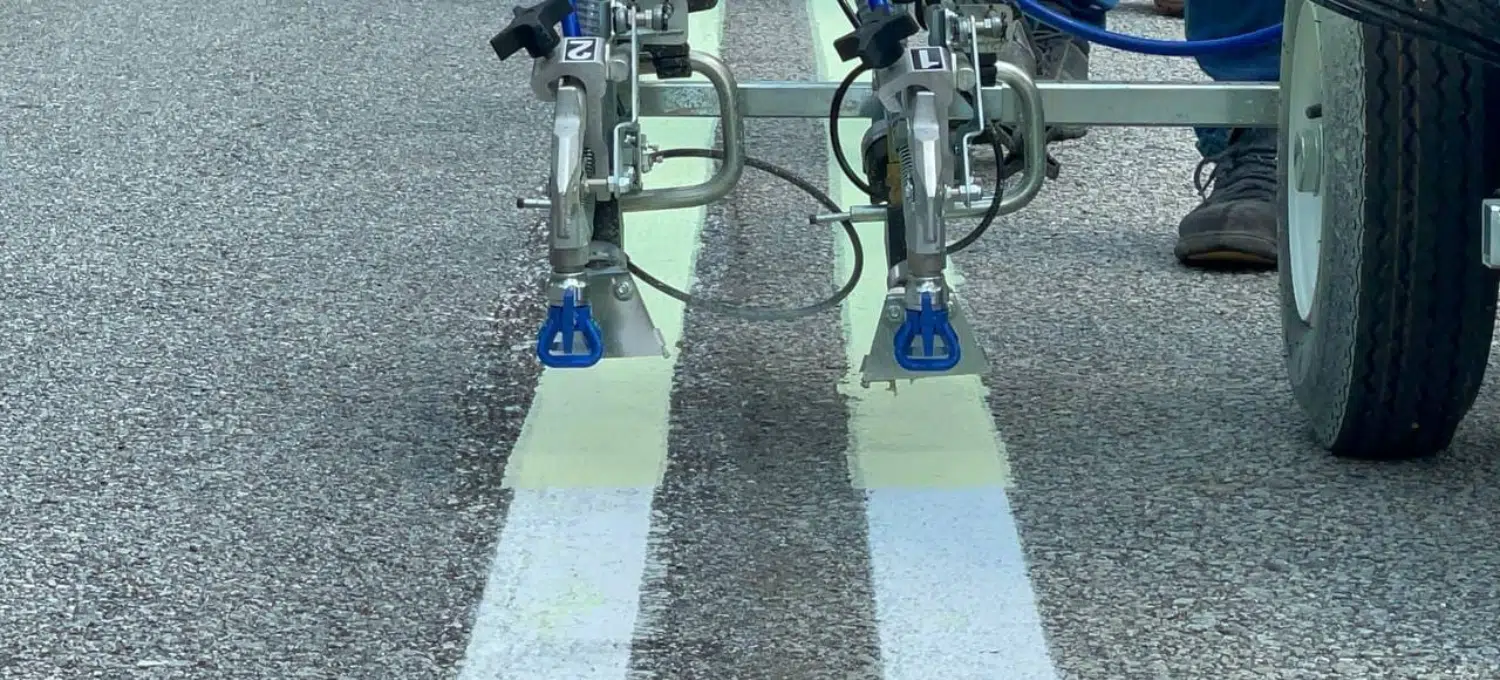
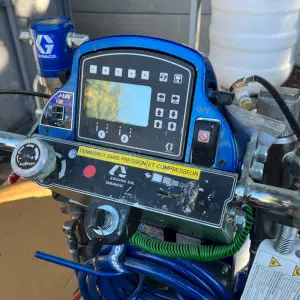
For outdoor use, photoluminescent paint can be applied with an airless machine. Indoors, the paint can be applied with a roller or a brush.
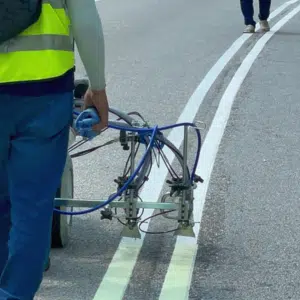
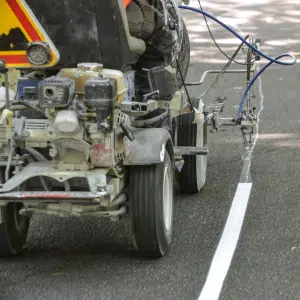
On asphalt, use a road marking machine to apply the paint evenly and precisely. These machines are fitted with special nozzles to produce clean, uniform lines.
An airbrush can be used when working on small areas. In this case, it may be necessary to dilute the paint a little before spraying.
If required, you can choose a solvent-based and/or water-based paint. |
Step 4 - Preparing the surface properly
|
Make sure the floor or cycle path you want to paint is clean, dry and smooth. For optimum adhesion of the phosphorescent paint, the area must be free of dust, dirt and oil.
Logically, like all road paints, luminescent paint should be applied in dry weather. We therefore advise against any application on the road between late October and early April, i.e. during the winter period when rainfall is more frequent. |
Step 5 - Preparing the road application machine
|
It is essential to prepare the road application machine before starting to lay the floor. After starting the machine, you will need to clean it thoroughly with a little solvent to ensure that the mechanism is clean.
Particular care must be taken to remove any residues of other paints than LuminoKrom®.
Make sure that you have set the correct speed, pressure and paint dosage before you start spraying. We recommend that you refer to the technical sheet for each product in our range of phosphorescent paints. |
Step 6 - Painting a white undercoat
|
Photoluminescent paint should be applied over a new white primer. The white marking acts as a barrier and prevents the loss of luminescence in the substrate. It is essential to apply a significant, opaque primer to achieve optimum luminosity. We recommend that this first coat is applied at 400g/m2. |
Carefully mix the white road marking paint according to the manufacturer's instructions. Make sure the paint is well mixed before use. Allow the first coat of paint to dry completely before applying the phosphorescent paint. Generally, the drying time is 30 minutes according to the manufacturer's instructions.
Step 7 - Preparing the photoluminescent paint to be applied
|
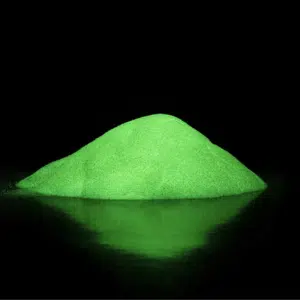
First of all, you need to homogenise the glow-in-the-dark paint well before using it, to ensure that the glow-in-the-dark pigments are evenly distributed throughout the paint. If necessary, don't hesitate to rehomogenise the phosphorescent pigment powder that may have settled to the bottom of the bucket.
Our paint is ready to use and requires no thinning when applied with an airless-type machine. For optimum effect, use our paint as supplied. |
Step 8 - Applying glow-in-the-dark paint
|
How do you apply glow-in-the-dark paint?
As soon as the undercoat has dried, you can apply our phosphorescent paint.
For optimum luminescence in the dark, we recommend an application speed of between 1.2 and 2 km/h for our LuminoKrom® range of phosphorescent paints. |
For phosphorescent paints in particular, use 900g/m2 to obtain a consistent finish and optimum luminescence time. As our paint is fairly dense, there's no need to apply several coats - a single pass is enough.
Follow the instructions provided on the technical sheet and applicator memo for each phosphorescent marking for the recommended drying times. In general, you should wait 45 minutes. Avoid allowing vehicles or pedestrians to drive over the painted area until the paint is completely dry. It is important that no cars should be able to drive over the markings until they are completely dry.
It's important to bear in mind that the glow-in-the-dark performance of our phosphorescent paint will depend on compliance with the application conditions and advice given on our product data sheets. The more closely you follow our advice, the better the glow-in-the-dark performance of the paint.
Initially, the choice of a suitable location for photoluminescent marking is also crucial. The area to be marked must be in darkness as soon as it gets dark, and the absence of public lighting is obvious.
Be sure to follow the specific instructions for each product in our paint range to achieve the best results and maximum luminous effect.
Our teams are available to support and advise you on your project.